When Microsoft Security Essentials is installed on a computer with Windows 7, you automatically become a member of the Microsoft Security Essentials and Microsoft Defender community and grant Microsoft the ability to automatically collaborate with the your computer through Microsoft SpyNet. It immediately creates a user membership which automatically tracks your activities and various threats that attack your computer.
This enables SpyNet to get information about the actions taken to avoid becoming infected or for the removal of the malware.
This information is then made available to the different Microsoft users throughout the world to make sure that when they suffer a similar issue they can take appropriate actions. It also gathers the information of the two services, Microsoft Security Essentials and Microsoft Defender to make sure that they are functioning at an optimal level. You can interpret this information for setting your personal computer with conditions which secure your computer from any malware abuse.
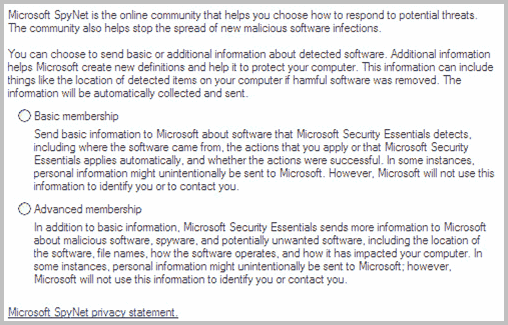
Microsoft Security Essentials presents two types of membership to users, basic and advanced. From basic members, SpyNet obtains information such as the origin of the software, the actions taken by Microsoft Security Essentials or the users, as well as whether the actions were helpful or not. It also collects some personal activity information. As an advanced member, in addition to the personal information, SpyNet also sends information such as hardware or software type, IP addresses, web browser, operating system, and so on. Though Microsoft does not use this information for any other purpose, some of you might not wish to have your personal information floating out there for others to see.
Microsoft does not allow its functionalities to be accessed until you are a member of the community and you share information with it. But there are alternatives, as always. Below you will find the information that you need to get access to all the functionalities of Microsoft Security Essentials and Microsoft Defender without having to share your personal details.
You can use the following two methods:
Blocking SpyNet by Changing Registry Entries
Here you will need to change the registry entries in your computer using the Registry Editor. Do this by following these simple steps:
- Click on Start menu from your windows desktop.
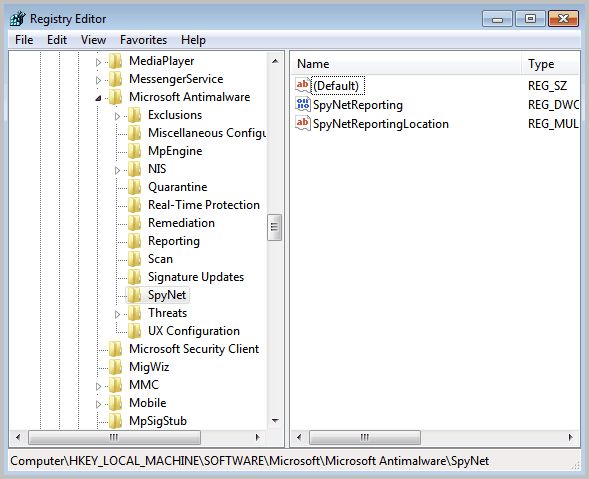
- Go to Run Dialog and type “Regedit” in the open field and click OK. The “Registry Editor” window will open as seen in figure 1.

- In the left pane navigate to the following path,
HKEY_LOCAL_MACHINE\SOFTWARE\Microsoft\Microsoft AntiMalware\SpyNet - Click on “Edit” and then “Permissions” option to open the permissions for SpyNet Dialog box.
- Select the username, for which you want to disable SpyNet, from the “Group or user names” pane.
- Check the “Full Control” box to allow editing. This will give the selected user full control over the SpyNet key.
The dialog box should look like figure 2.


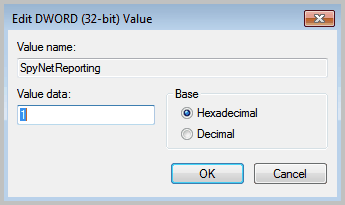
Value = 1; for Basic membership, Value = 2; for Advanced membership
After selecting value as 0, the Microsoft SpyNet screen will look like the snapshot as in figure 4. Note that both membership options are not selected.

Blocking SpyNet Using Host Files
Both Microsoft Security Essentials and Windows Defender use the following domains to communicate with the Microsoft server:
- Spynet2.microsoft.com
- Spynettest.microsoft.com
- 127.0.0.1 Spynet2.microsoft.com
- 127.0.0.1 Spynettest.microsoft.com
Open the file using Notepad and follow the instructions given in the file.
This procedure will not affect your spyware definitions and or its ability to update.


No comments:
Post a Comment